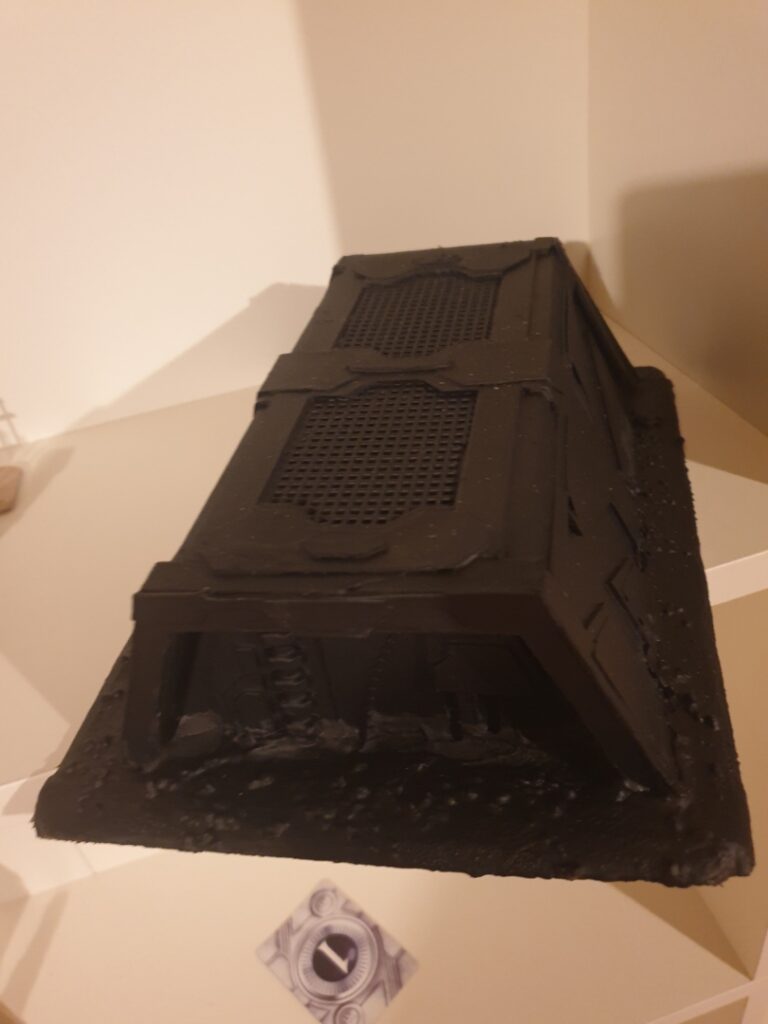
This one is gonna be an older project. It was shared back when I was still on miniatures.photography (a now defunct pixelfed instance) and was the first piece of terrain I ever scratch-built. It was a simple bunker constructed using foam-core and cardboard. The construction was fairly simple and straightforward, consisting of four trapezoidal pieces of foamcore (two for the ends, and two internal ones for rigidity), and then three rectangular pieces to form the top and sides. Hot glue was used to then attach the sides and top of the structure.
I then added details using some cardboard (2.4mm thick ‘box board’ sourced from an art supplies store, though if I did this again I’d use something slightly thinner because it was a pain to cut). I also used a few bits of plastic mesh to add grates to the top of the bunker, with the area under the grates being pre-painted in black before the grates went in. Some 3d printed greebles I had lying around were added, as well as a few cut up pieces of zip tie. The cardboard was mostly attached using PVA, with superglue used for the greebles.
Lastly, a second pass of detailing was applied using some thinner cardboard salvaged from an old cereal box. This added a bit more depth to many of the panels, with the aim being for that to show up well when dry-brushed later.


After this I coated the piece in modpodge before I undercoated it with some black spray undercoat from the local “Hammerbarn”1. I did this before realizing I really ought to attach it to a base, I went back and cut an MDF base for the piece, which I glued on aLastlynd textured with spackle, pebbles and sand before spraying it again.


Lastly, it was time to give it a simple paint-job. Since this is a terrain piece I used some simple craft paints. For the base coat I used a mixture of Paynes Grey and blue to get a dark, de-saturated blue. This was then overbrushed2 with a brighter de-saturated blue and washed with a simple black wash before being dry-brushed with a light grey-blue.
The grates at the top received a similar treatment with shades of grey, with a metallic silver being used for the dry brush and a little weathering using burnt umber and raw umber to add some rust.
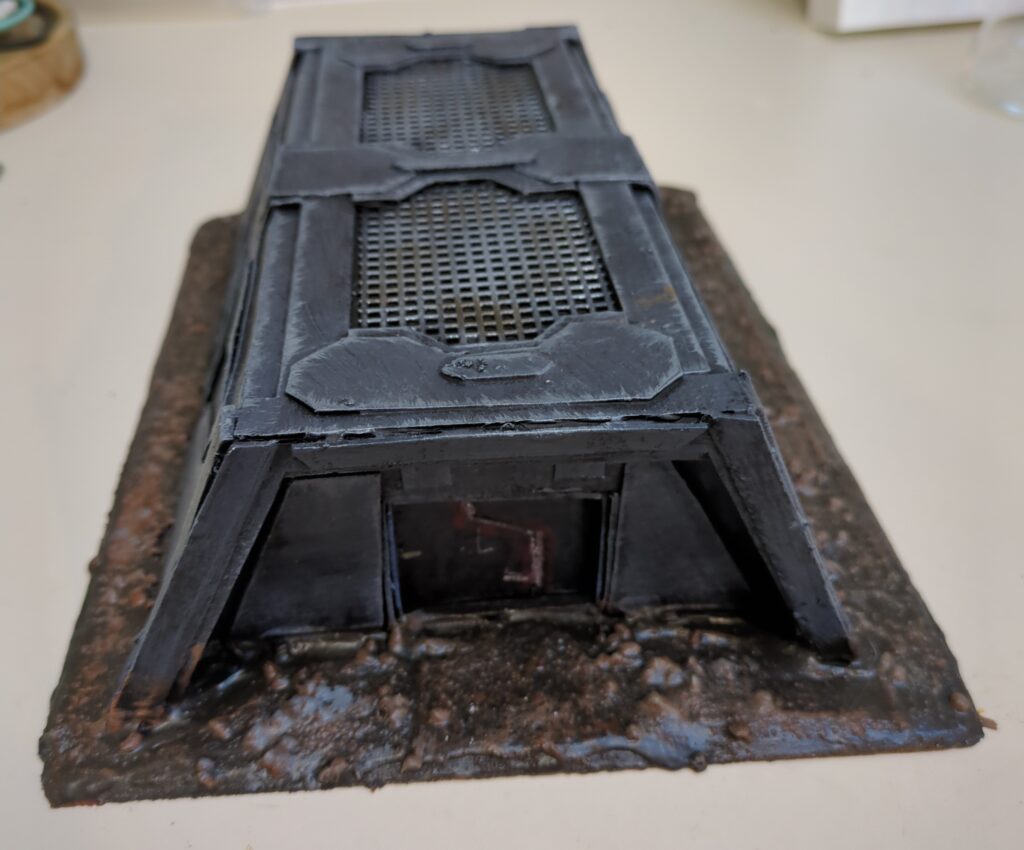
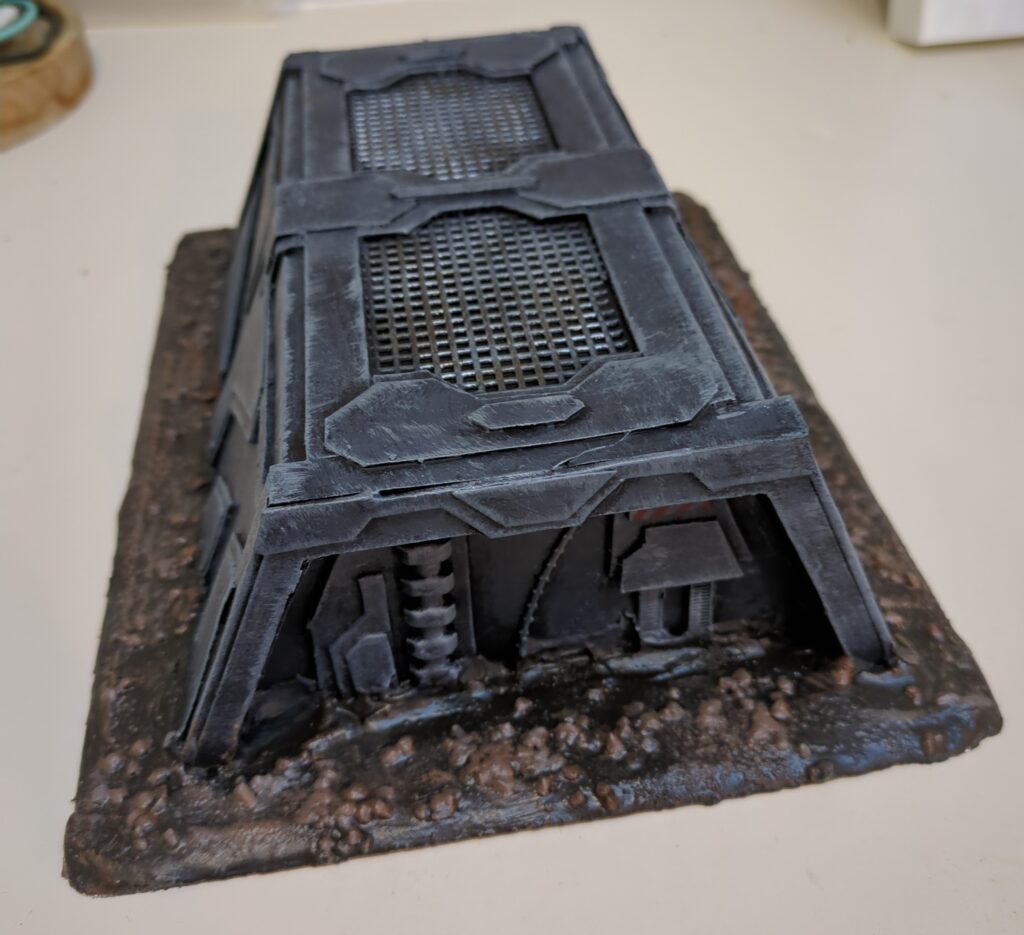
Overall, pretty happy with this – it looks nice on the tabletop – just need to build quite a few more. The dark browns of the dirt make me think of jungles so I may have to see if I can “jungle it up” for whatever I build next for this set and try to aim for a forest moon of Endor kind of a vibe.
- Ok, so it’s actually Bunnings. But I couldn’t resist the Bluey reference. ↩︎
- and the grating on the top has patches of brown rust.Overbrushing is a simple technique is similar to drybrushing, but with much heavier coverage ↩︎
Great looking bunker, and like all the added details, both in additions and paint